10 Lighting Tips to Make Your Food Visuals Look Irresistible
Craving mouth-watering food photography or videos?
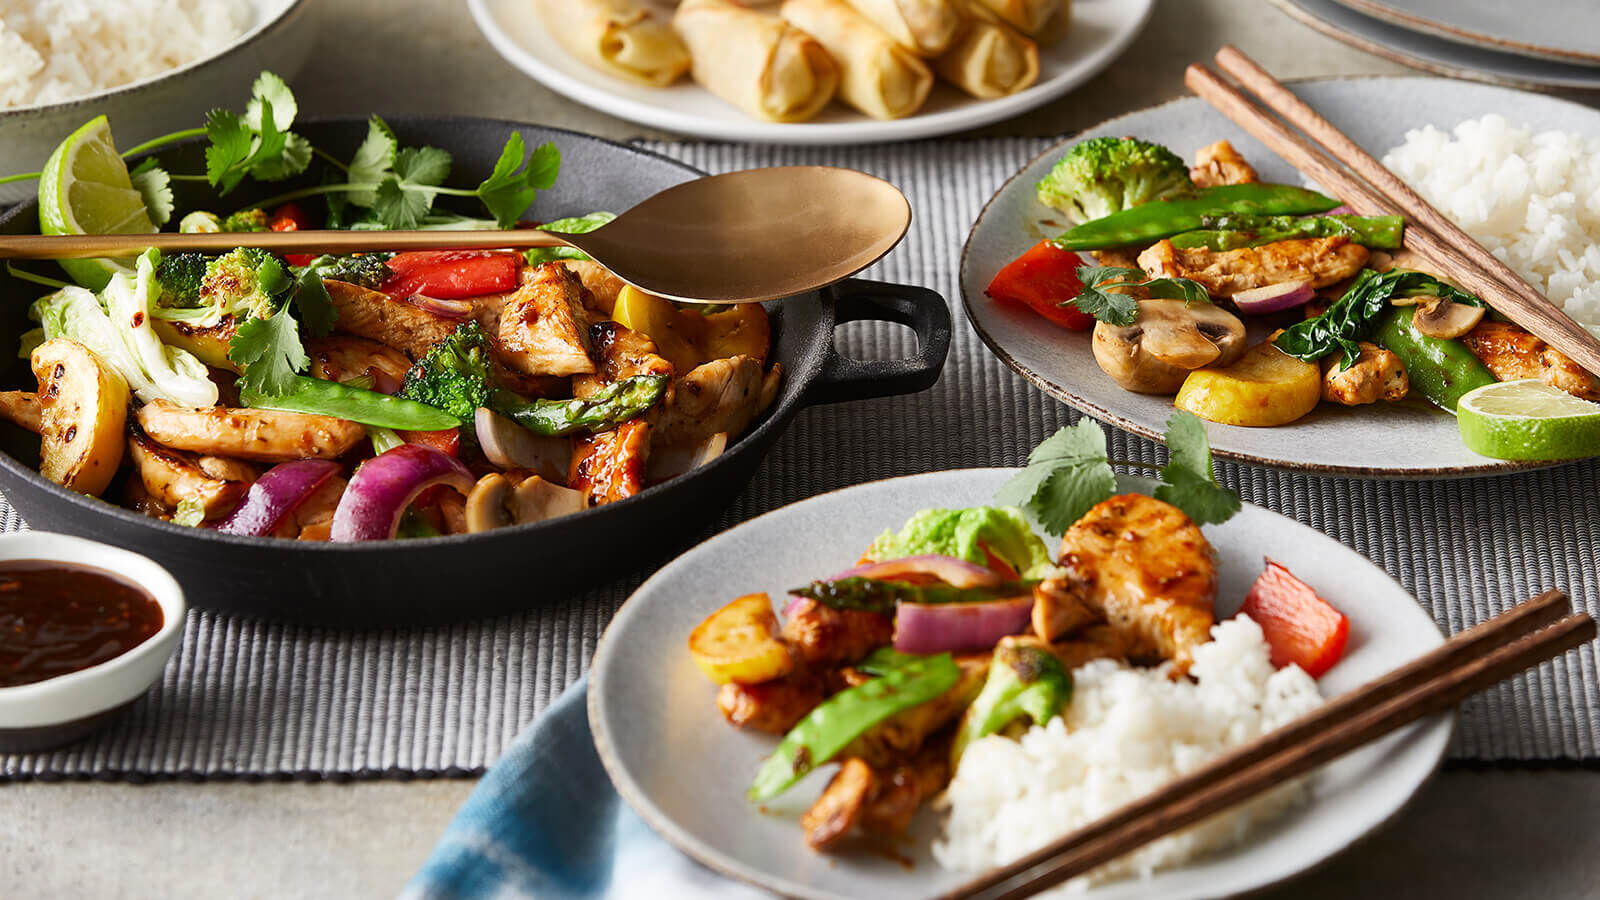
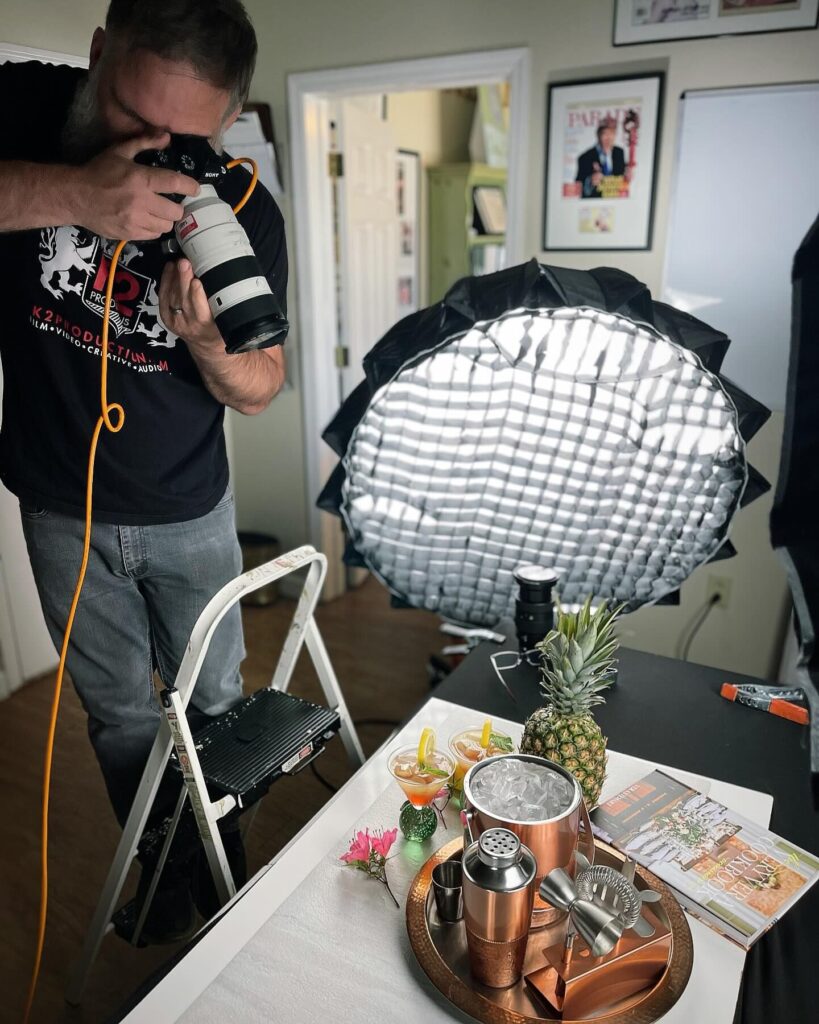
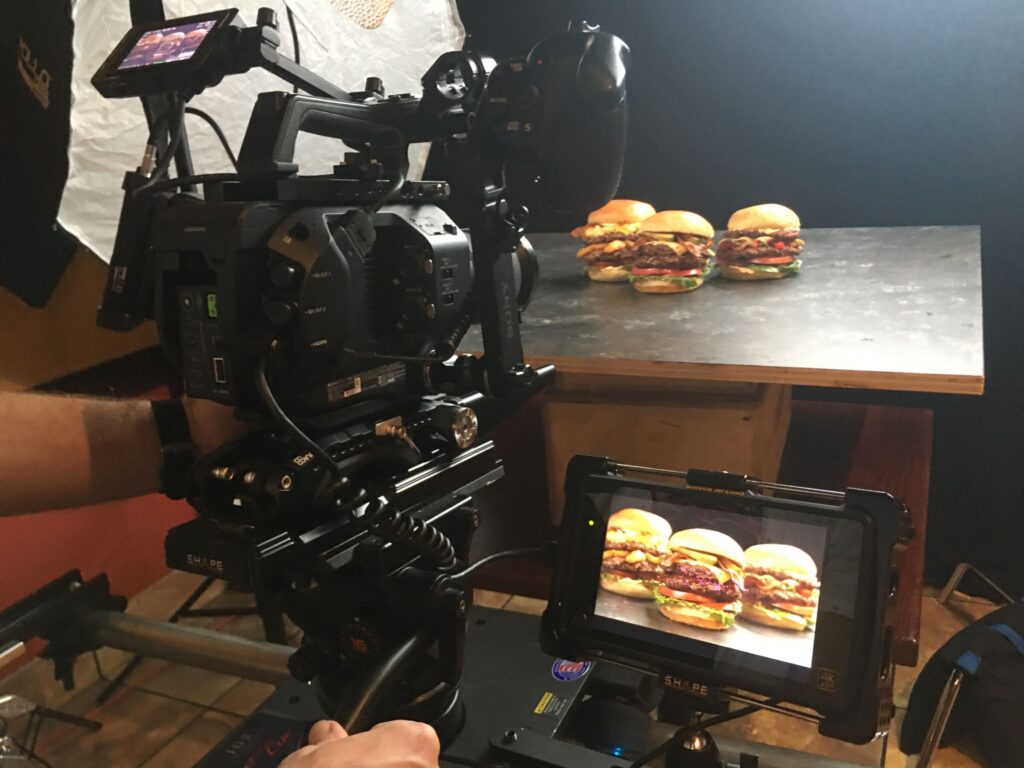
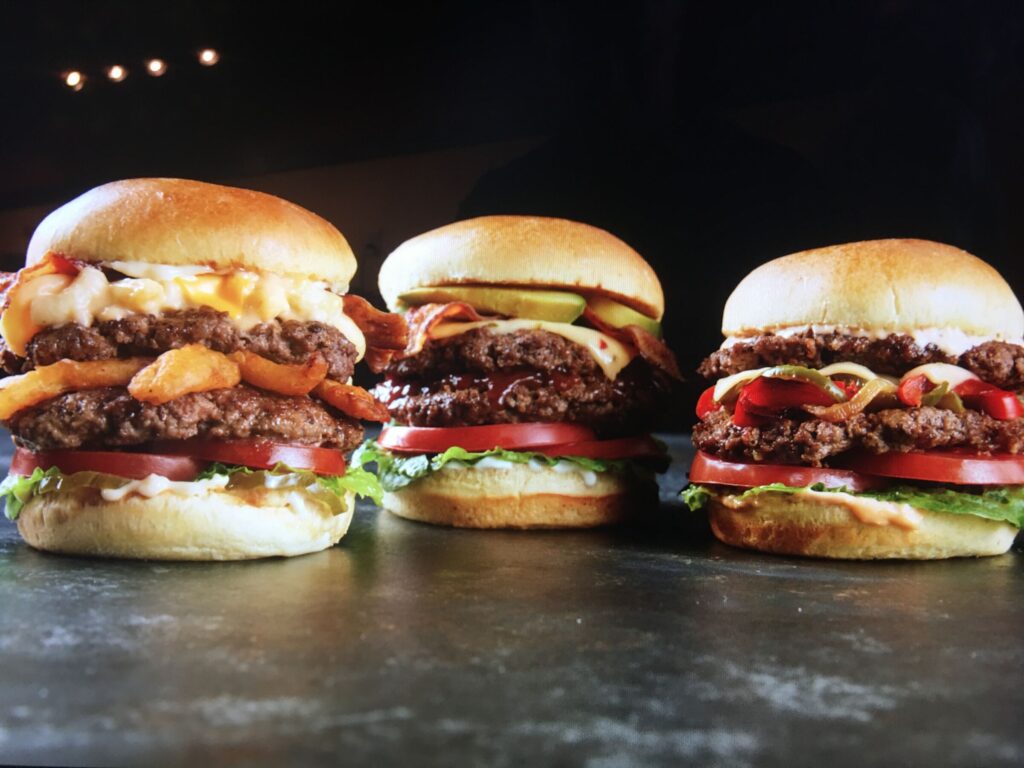
At K2 Productions, we specialize in capturing food visuals that make your audience hungry for more. We’re lucky to work with food & beverage brands like The Fresh Market and East Coast Wings + Grill. They create amazing dishes, but the real magic is in the lighting when translating this to videos and photos for food menus, premium grocery store ads, or food signage. Our Director of Photography, Nathan, is one of the best in the business regarding food production lighting. You’ll often hear him say, “Let me try one more thing,” on set in his relentless pursuit of perfection. Want to know how we make food look its absolute best? Here are some of our top pro lighting tips.
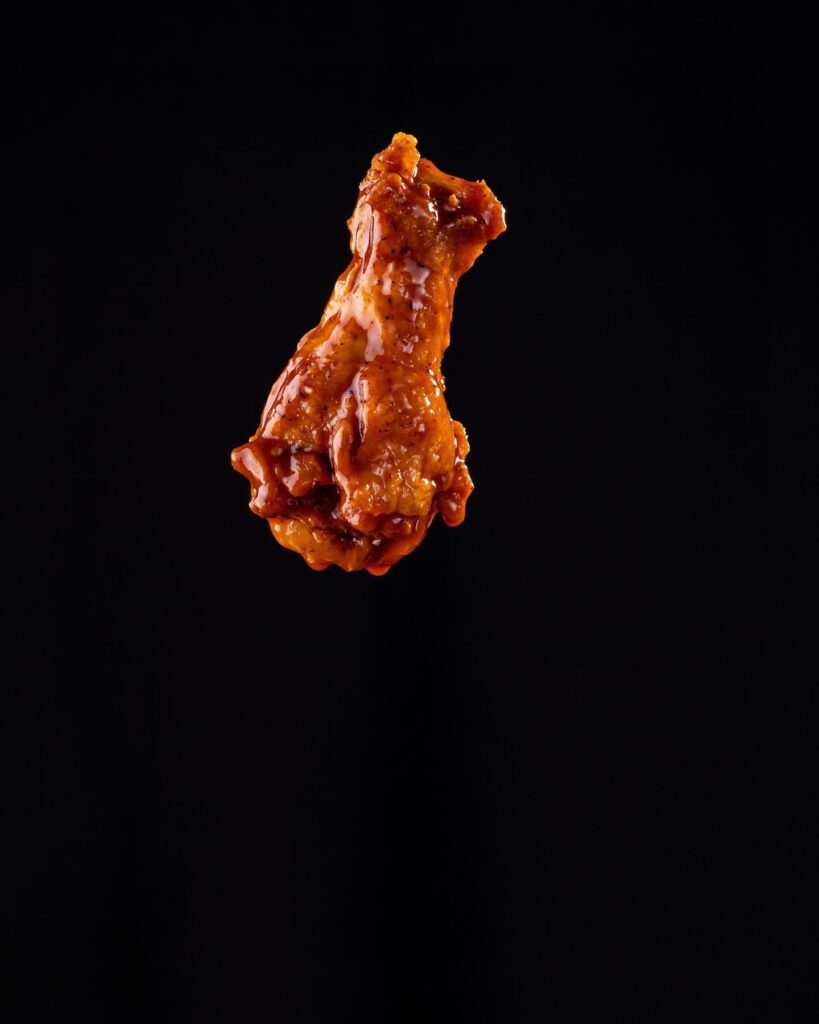
1. Side Lighting: Side lighting is a classic. It creates depth and texture, highlighting the food’s form and making it look more three-dimensional. Aim for a light source about 45 degrees to the side and slightly above your subject. Nathan often uses this technique to emphasize the textures in things like grilled meats or the flaky layers of a pastry.
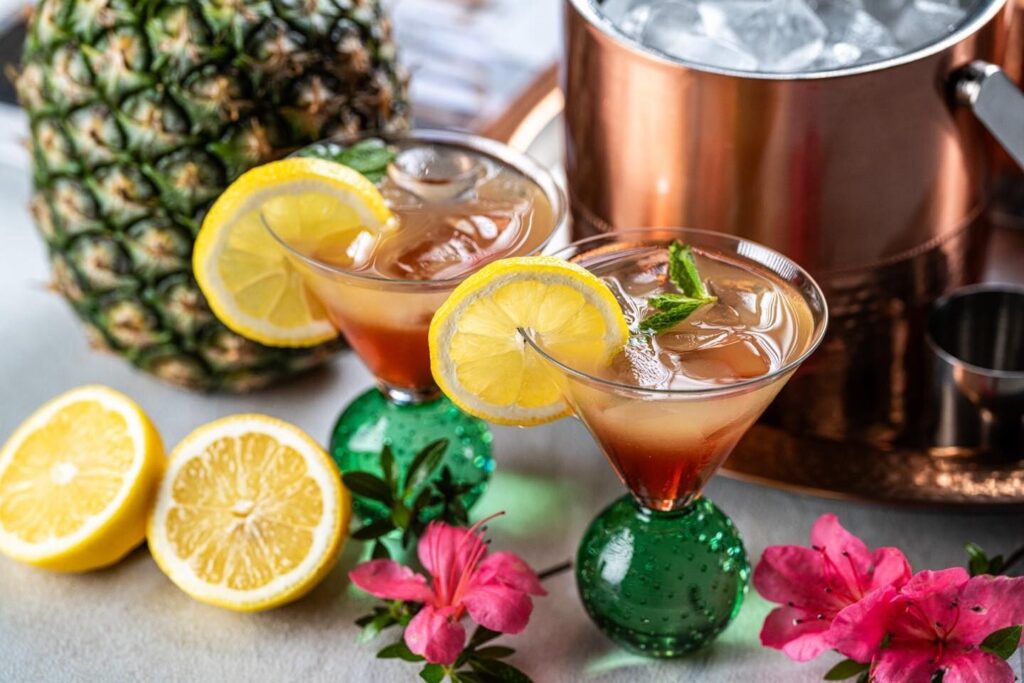
2. Backlighting: Backlighting can create a beautiful, ethereal glow around your food, especially if it has some translucency (think a slice of cake with cream or a glass of wine). Just be sure to use a reflector or fill light in the front to avoid making the front of your subject too dark. We love using backlighting for beverages, showcasing their color and clarity.
3. Diffusion: Harsh light is the enemy of appetizing food photography. Soft, diffused light is key. Use a softbox, umbrella, or sheer curtain to soften your light source. This will create gentle shadows and make your food look more appealing. Nathan’s a big fan of softboxes, which provide a beautiful, even light, perfect for food.
4. Fill Light: Even with a primary light source, you’ll likely need some fill light to soften the shadows and ensure your food is evenly illuminated. Use a reflector, white foam board, or even a piece of paper to bounce some light back onto your subject. We always have a variety of reflectors on hand to fine-tune the lighting.
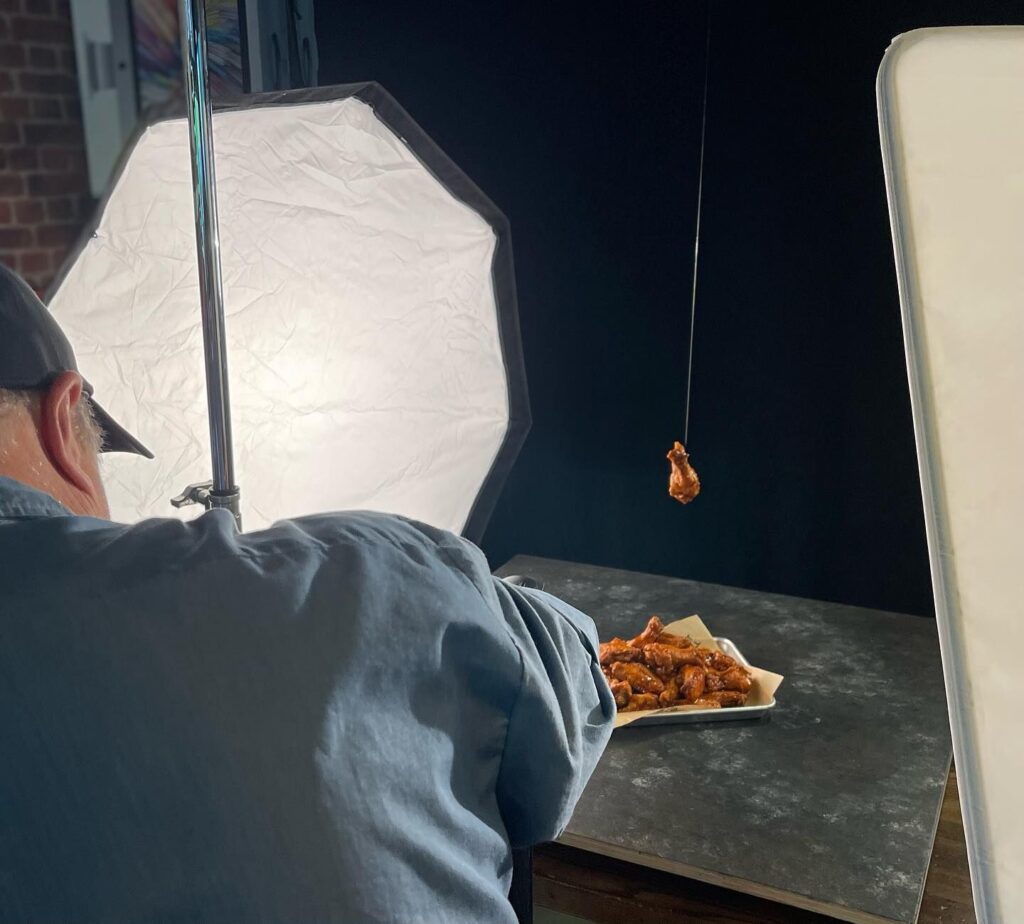
5. Light Modifiers: Various light modifiers, such as grids, snoots, and flags, can help you control the shape and direction of your light. Experiment with these to see how they affect your food photography. Nathan often uses grids to create more dramatic and focused lighting.
6. Color Temperature: The color temperature of your light can significantly impact the overall look of your photos. Natural daylight is generally considered the most flattering for food, but you can also use artificial lights with different color temperatures to create different moods. We’re always conscious of color temperature and ensure it complements the food we’re shooting.
7. Consistent Lighting: When working with artificial light, keeping your light source in the same position for each shot is essential. Using a tripod will help you do this. This is a must for Nathan, ensuring consistency throughout the shoot.
8. Artificial Light: Natural light is always ideal, but don’t be afraid of artificial light. It can be just as effective if you use it properly. At K2, we’re equally comfortable working with natural and artificial light.
9. Try New Things: The best way to improve your food photography lighting is to practice. Experiment with different setups and see what works best for you. Even Nathan is always experimenting and refining his techniques.
10. Ready to capture mouthwatering visuals for your menu or food brand? Don’t forget to ask about lighting! A skilled photography & video production agency, like K2Productions, with lighting expertise can make all the difference!